
 I have had this chalkboard tutorial from one of my favorite blogs in the back of my head for so. long.
Finally, about a month or so ago, I finally found the perfect framed picture to use for my chalkboard! I was so excited--I found it at Goodwill for about $8.00
You need a picture painted on a wooden surface, or at least with a wooden backing--not cardboard--so that it's sturdy enough to use as a chalkboard. The picture that I found, the paint was pretty textured, so I painted the back of it {and I guess if I ever wanted to have this picture hanging in our house, I still have the option, haha}.

I had Matt take it out for me, because quite frankly, I didn't feel like bending all those staples back myself to get the picture out! haha

I ended up painting 4 coats for my chalkboard, just to make sure it was a really black surface.
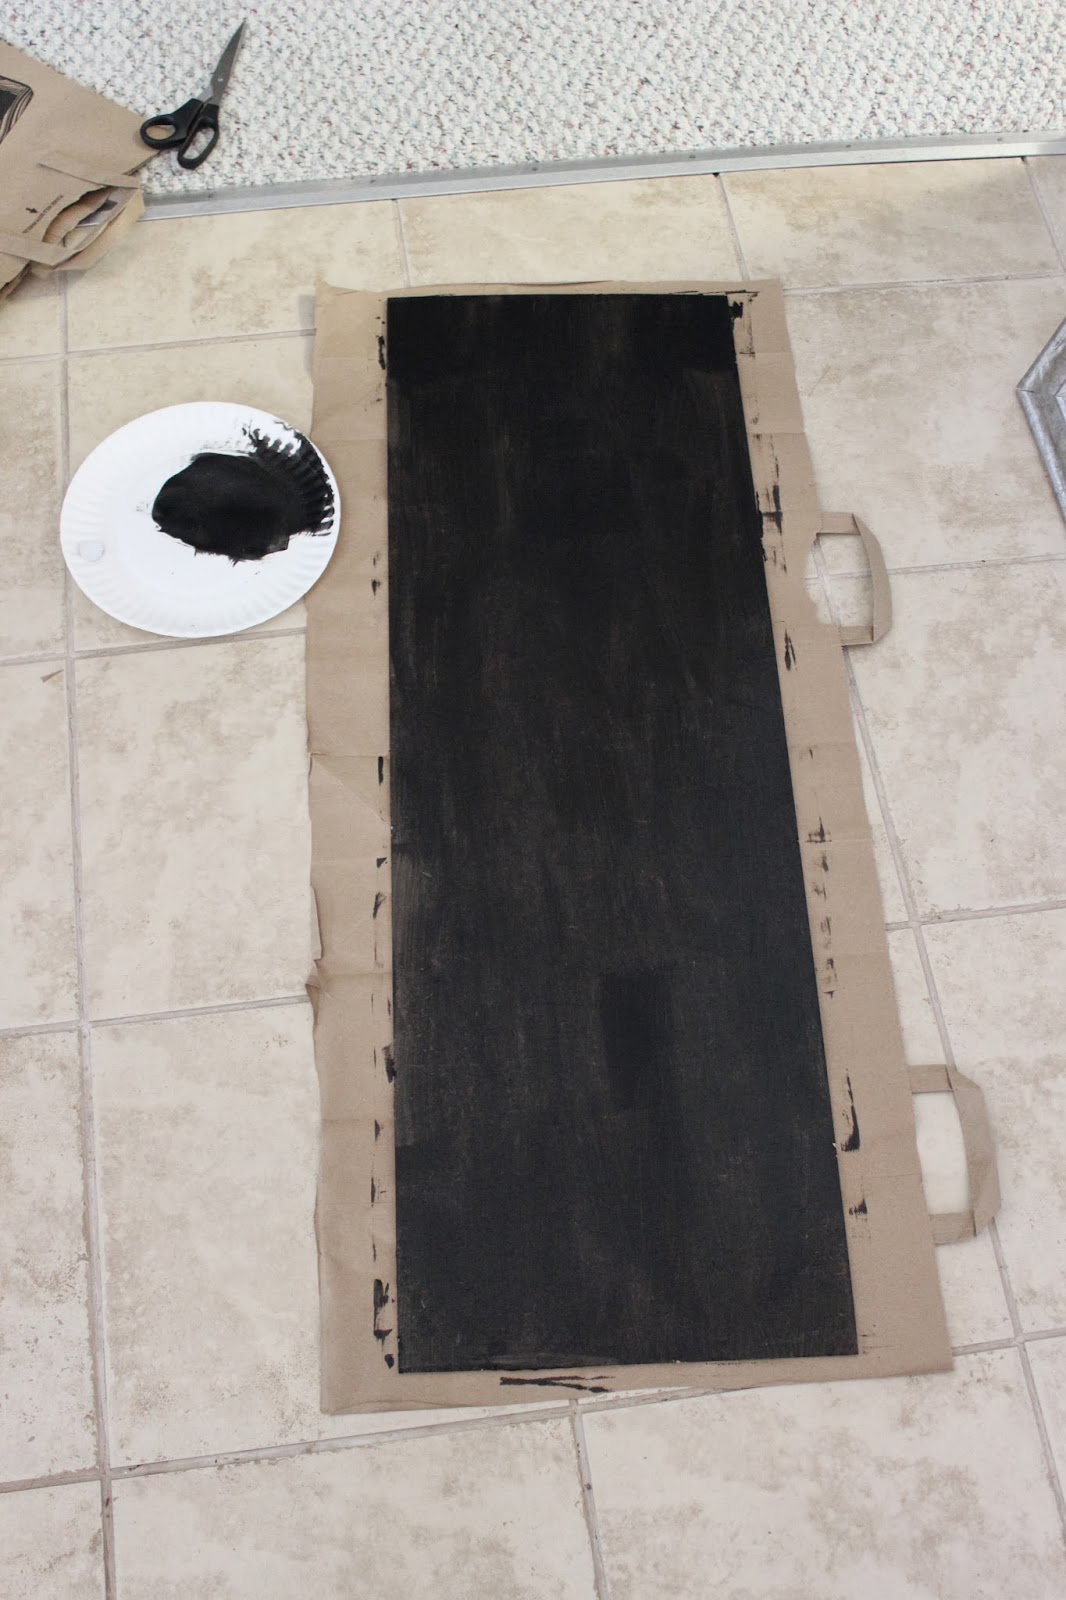


Even after doing 4 coats, I still have about half of this bottle left.
You can actually buy this particular chalkboard paint in different colors. I considered it, but I still really wanted just a plain black chalkboard.


Voila!


I finished it the week before Halloween, so it only felt appropriate to use this quote.


I can't wait to start doing Christmas designs!! :)
1 comment:
good that you have some of the paint left because I read that you sometimes have to put another coat on after a year. I love yours and how large it is. I need a bigger one....I never have enough room for everything I want to put on it. I look forward to the 1st of every month so I can "chalk" up some stuff on my chalkboard!! Great job Mallory!
Post a Comment